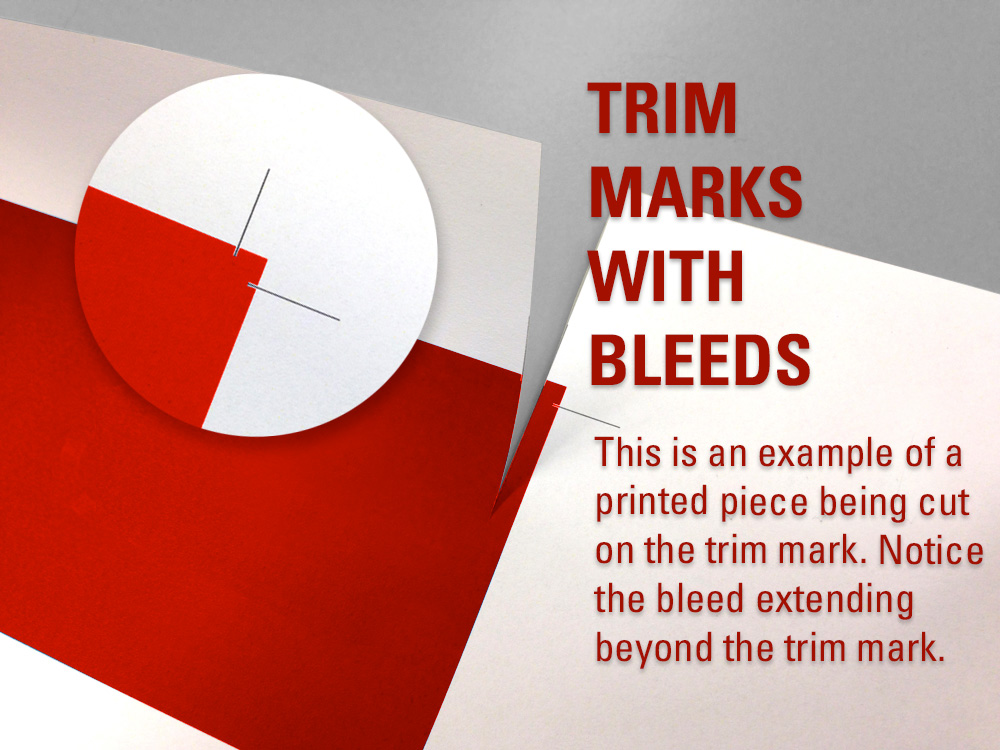
The way that your artwork is set up is a large part of getting a high-quality print job.
Outlined below are 4 basic steps to take to ensure that your A5 flyers, A4 to DL brochures, A1 Posters or any other print collateral are printed in the highest quality possible.
1. All artwork should be supplied to your printer in a CMYK format. Regardless of whether you are printing a DL flyer, a four page A4 catalogue, an A3 Poster or a trifold brochure – all artwork should be in a CMYK format to ensure that your carefully chosen colours are printed in the truest representation possible.
2. Bleed. Bleed is so important. Imagine your beautifully designed A5 double sided flyer with your contact details and beautiful images being ruined because the printer was not provided with a file that included bleed. The standard bleed allowance is 5mm. This essentially creates a border around your flyers, posters, brochures, catalogues or signage so that when they are trimmed after print, none of your important wording or images are cut off.
3. Crop marks are little indentations that go alongside the bleed on your file that indicate to the printers where to trim the material. For example, if you have images of your latest work that you would like to include on your A4 flyer then you would ensure your crop marks allow for these images to stay inside the lines and are not removed during the print and trimming process.
4. Any images that you would like to include on your print material need to be provided in high resolution. In order for the quality of your images to be transferred to the printing of your flyers, signage or posters then make sure those images are set at 300dpi or higher to avoid any bleeding or pixilation of the images when they are printed.
These quick and simple changes can make all the difference when it comes to printing your material. Investing in the quality of your DL flyers, A4 brochures, catalogues and signage will ensure that you are provided with the best quality print job possible.
